To develop for Apple Vision Pro, install the latest Xcode on a Mac with Apple silicon, create a new visionOS App project, build the first interface with SwiftUI, test it in the visionOS Simulator, and add RealityKit only when your idea benefits from 3D content. You do not need a headset to start learning or prototyping.
This roadmap explains the choices that matter before you disappear into a pile of frameworks and sample projects.
What you need to build a visionOS app
Start with:
- A Mac with Apple silicon.
- The latest production version of Xcode that includes the current visionOS SDK and Simulator.
- A free Apple Developer account for documentation, sample code, and basic development resources.
- Swift and SwiftUI fundamentals.
- An Apple Developer Program membership when you are ready to distribute through TestFlight or the App Store.
Apple keeps its current tools, sample code, design material, and framework guidance together in the visionOS developer pathway.
Choose the right kind of spatial experience
Do not begin with maximum immersion. Begin with the smallest spatial format that genuinely improves the app.
| Scene type | Best starting point for |
|---|---|
| Window | Familiar apps, reading, productivity, media controls, utilities |
| Volume | A bounded 3D object or scene that users can view from different angles |
| Immersive Space | Experiences that replace or deeply transform the surrounding space |
A window is usually the right first milestone. Once navigation, state, accessibility, and the core task work well, add a volume or Immersive Space for the part of the experience that truly needs depth.
Existing iPhone and iPad apps can also run as compatible apps in visionOS. If you already ship one, first check how it behaves in a visionOS window before deciding whether a native spatial redesign is worth the work.
Create your first visionOS project in Xcode
- Open Xcode.
- Choose File > New > Project.
- Select the visionOS platform and the App template.
- Enter a product name, organization identifier, and team.
- Keep SwiftUI as the interface.
- Choose a starting scene style that matches your idea.
- Build and run the project in Apple Vision Pro Simulator.
A minimal window-based app follows the same declarative structure as SwiftUI on Apple's other platforms:
import SwiftUI

@main
struct HelloVisionApp: App {
    var body: some Scene {
        WindowGroup {
            ContentView()
        }
    }
}

struct ContentView: View {
    var body: some View {
        VStack(spacing: 16) {
            Image(systemName: "globe")
                .font(.system(size: 56))
            Text("Hello, spatial world")
                .font(.title)
        }
        .padding(40)
    }
}
Run this first. A working window gives you a stable base for navigation, data, and app architecture before 3D complexity arrives.
Learn the visionOS interaction model
People primarily interact with Vision Pro using their eyes and hands. They look at a target, then tap a finger and thumb together to select it. SwiftUI controls support the standard system gestures, so familiar buttons, lists, menus, drag gestures, and scroll views are an excellent starting point.
Follow three rules early:
- Make targets comfortable to look at and select.
- Use familiar system gestures before inventing custom ones.
- Do not make eye tracking visible or turn it into a cursor. Treat gaze as private system input.
For broader design guidance, study Apple's visionOS Human Interface Guidelines.
Add 3D content with RealityKit
RealityKit is Apple's framework for rendering and interacting with 3D content. Reality Composer Pro, included with Xcode, helps organize scenes, materials, lighting, audio, and assets.
A sensible learning sequence is:
- Place one model in a
RealityView. - Add a targeted tap gesture.
- Change one entity property in response.
- Move the content into a volume.
- Add an Immersive Space only after the bounded version works.
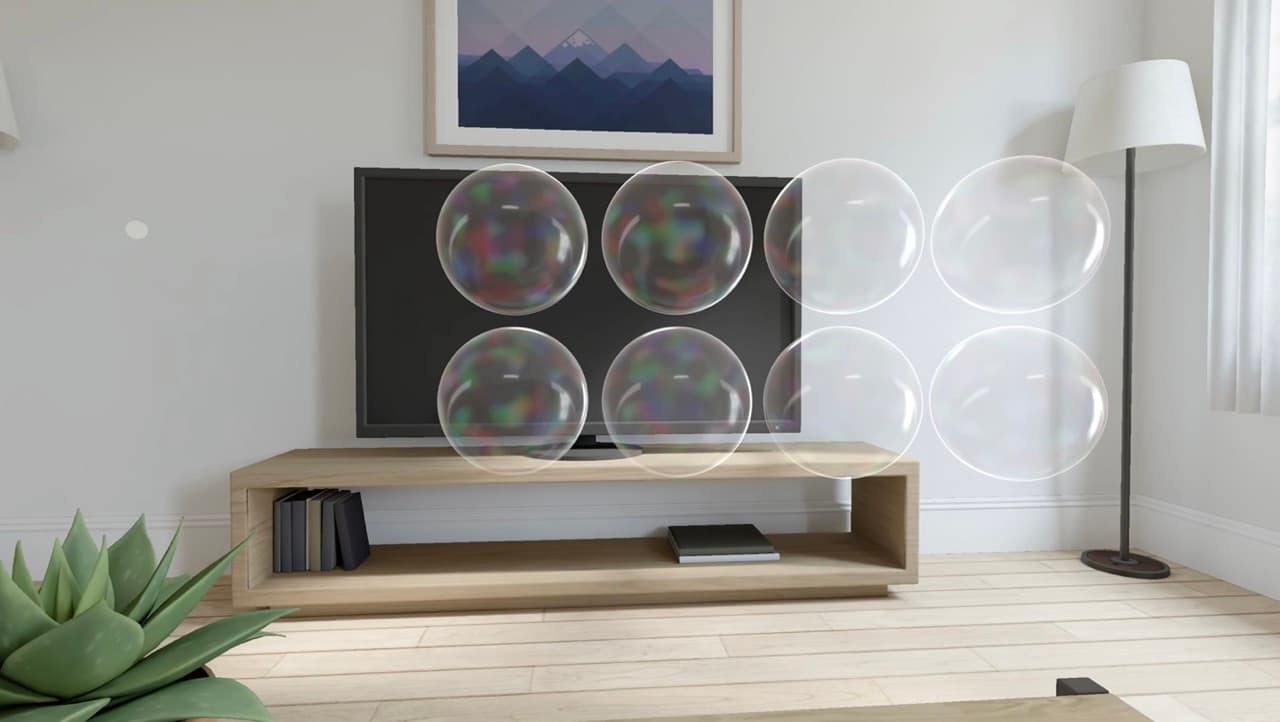
Apple's visionOS documentation links to beginner samples for SwiftUI shapes, RealityKit content, immersive spaces, and depth effects. If you want a focused visual example, our bubble shader tutorial shows how another visionOS developer uses Reality Composer Pro's Shader Graph.
Watch Apple build an immersive app
This Apple Developer session walks through a new visionOS project, Xcode Previews, Simulator, Reality Composer Pro, RealityView, immersive scenes, and gestures.
Video credit: Apple Developer — “Develop your first immersive app”.
Test without a headset, then test on hardware
Simulator is good for layout, navigation, scene lifecycle, and many interaction flows. Use Xcode Previews to iterate on individual SwiftUI views quickly.
Simulator cannot tell you everything. Before release, test on Apple Vision Pro for:
- Physical comfort and viewing distance.
- Depth, scale, and occlusion.
- Real eye-and-hand input.
- Motion and accessibility preferences.
- Performance, thermal behavior, and sustained rendering load.
- How the app behaves in real rooms and lighting conditions.
If you do not own a headset, use TestFlight with trusted testers who can send screen recordings, crash details, and precise reproduction steps.
Keep performance and comfort in scope
Spatial apps can become expensive quickly. Profile CPU and GPU work with Instruments, avoid updating 3D state more often than necessary, and test under sustained use instead of judging only the first minute.
Comfort is a product requirement. Avoid unexpected camera motion, excessive visual movement, rapid changes in scale, and interactions that force people to hold their arms up for long periods. Offer a less immersive path when the task does not need a Full Space.
Prepare for TestFlight and the App Store
Before uploading a build:
- Test the core flow in Simulator and on real hardware.
- Add a clear privacy usage description for every protected capability you request.
- Check that the app remains useful when a permission is declined.
- Capture accurate screenshots and preview media.
- Explain the spatial value in the product page copy instead of relying on generic “immersive” claims.
- Invite a small TestFlight group and fix comfort, onboarding, and interaction problems before a wider launch.
After release, you can submit your visionOS app to our directory so Apple Vision Pro owners can discover it.
Which technology should you choose?
SwiftUI and RealityKit
Choose Apple's native stack for a new productivity app, utility, media app, or experience that mixes standard interface elements with spatial content. It offers the most direct path into visionOS controls and platform behavior.
UIKit
UIKit remains relevant when bringing an established iPhone or iPad codebase to Vision Pro. Use it where it already solves your interface needs, and add SwiftUI or spatial scenes incrementally.
Unity
Unity can be a strong option for teams with an existing 3D game, simulation, or asset pipeline. Evaluate its current visionOS requirements and licensing before committing the project architecture.
A four-week beginner plan
Week 1: Learn SwiftUI scene and state basics. Build a useful window-based app.
Week 2: Add one RealityKit model, one gesture, and one spatial audio experiment.
Week 3: Test a volume or Immersive Space, then profile performance and review comfort.
Week 4: Test on hardware, improve onboarding and accessibility, and ship a focused TestFlight build.
The goal is not to master every visionOS API. It is to finish one clear experience, learn where spatial computing adds real value, and build from evidence instead of spectacle.
Sources and credit: Apple Developer — Get Started with visionOS, Apple Developer Documentation — visionOS, Apple Human Interface Guidelines — Designing for visionOS, and Apple Developer — Choosing a Membership. Cover artwork was created for Apps For Apple Vision Pro.